BROOKE BOROUGH PRESETS // INSTALLATION FOR IPHONE IOS 13 OR NEWER
WRITTEN VERSION OR WATCH THE VIDEO TUTORIAL
Open email with download links, click the link and it will automatically open on your browser, click “download” and it will begin to download to your phone
In the top right hand corner you will see a blue arrow pointing down, that will be where the files are loading.
While you are waiting for the files to download, let's get lightroom installed on your computer! You can download Lightroom for free in the app store.
Once download is complete tap the blue arrow, and then tap file (BBpresets.zip) and it will open your Icloud Drive (this will be where you’ll find your presets if you get a new phone or for some reason it resets and adobe doesn’t save them for you)
Click on the zipped folder in your icloud drive -- clicking it will automatically “unzip” the folder
Now, go back to the lightroom mobile app
create an album for the presets you just downloaded by selecting the “+” and tap “ album”
name it according to the collection (ex. BBpresets)
Next, click the three little dots to the right of the album you just named.
add photos ‘from file’, click the downloads folder and tap one of the preset images. repeat this step until all are imported
after each preset photo is in the album, select the album to open and tap on one of the photos
hit the top right button with three dots, and select “create preset”
name each according to the preset title (i recommend adding bb, or numbering them before each to keep them together. for example: bb goldie, 1. goldie)
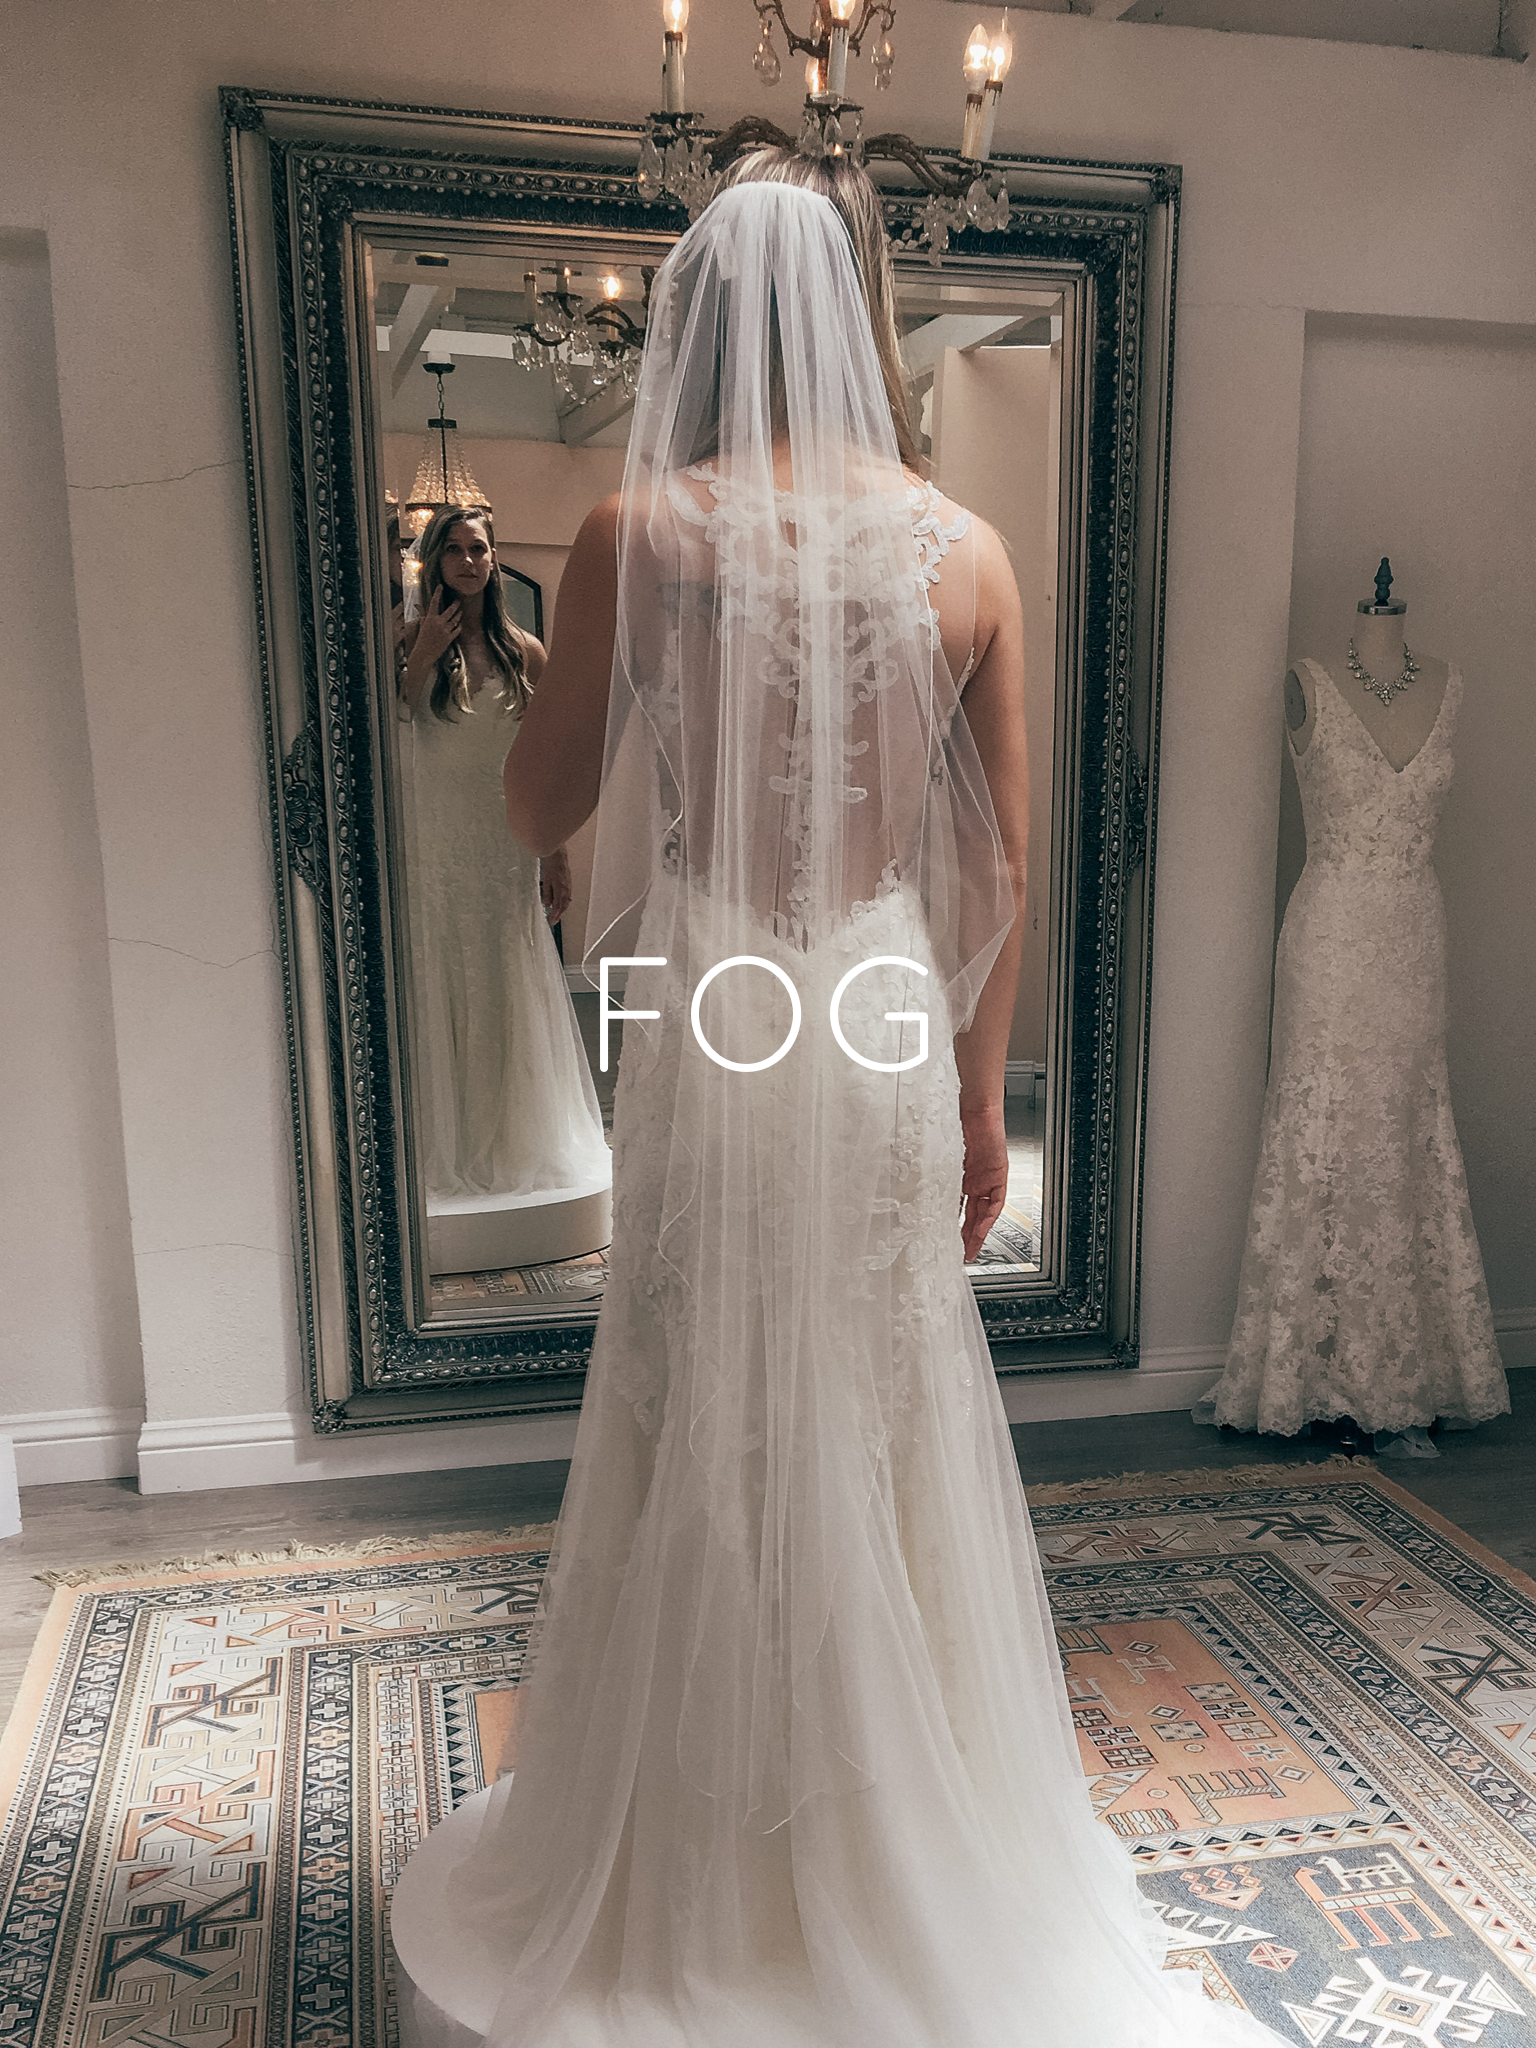
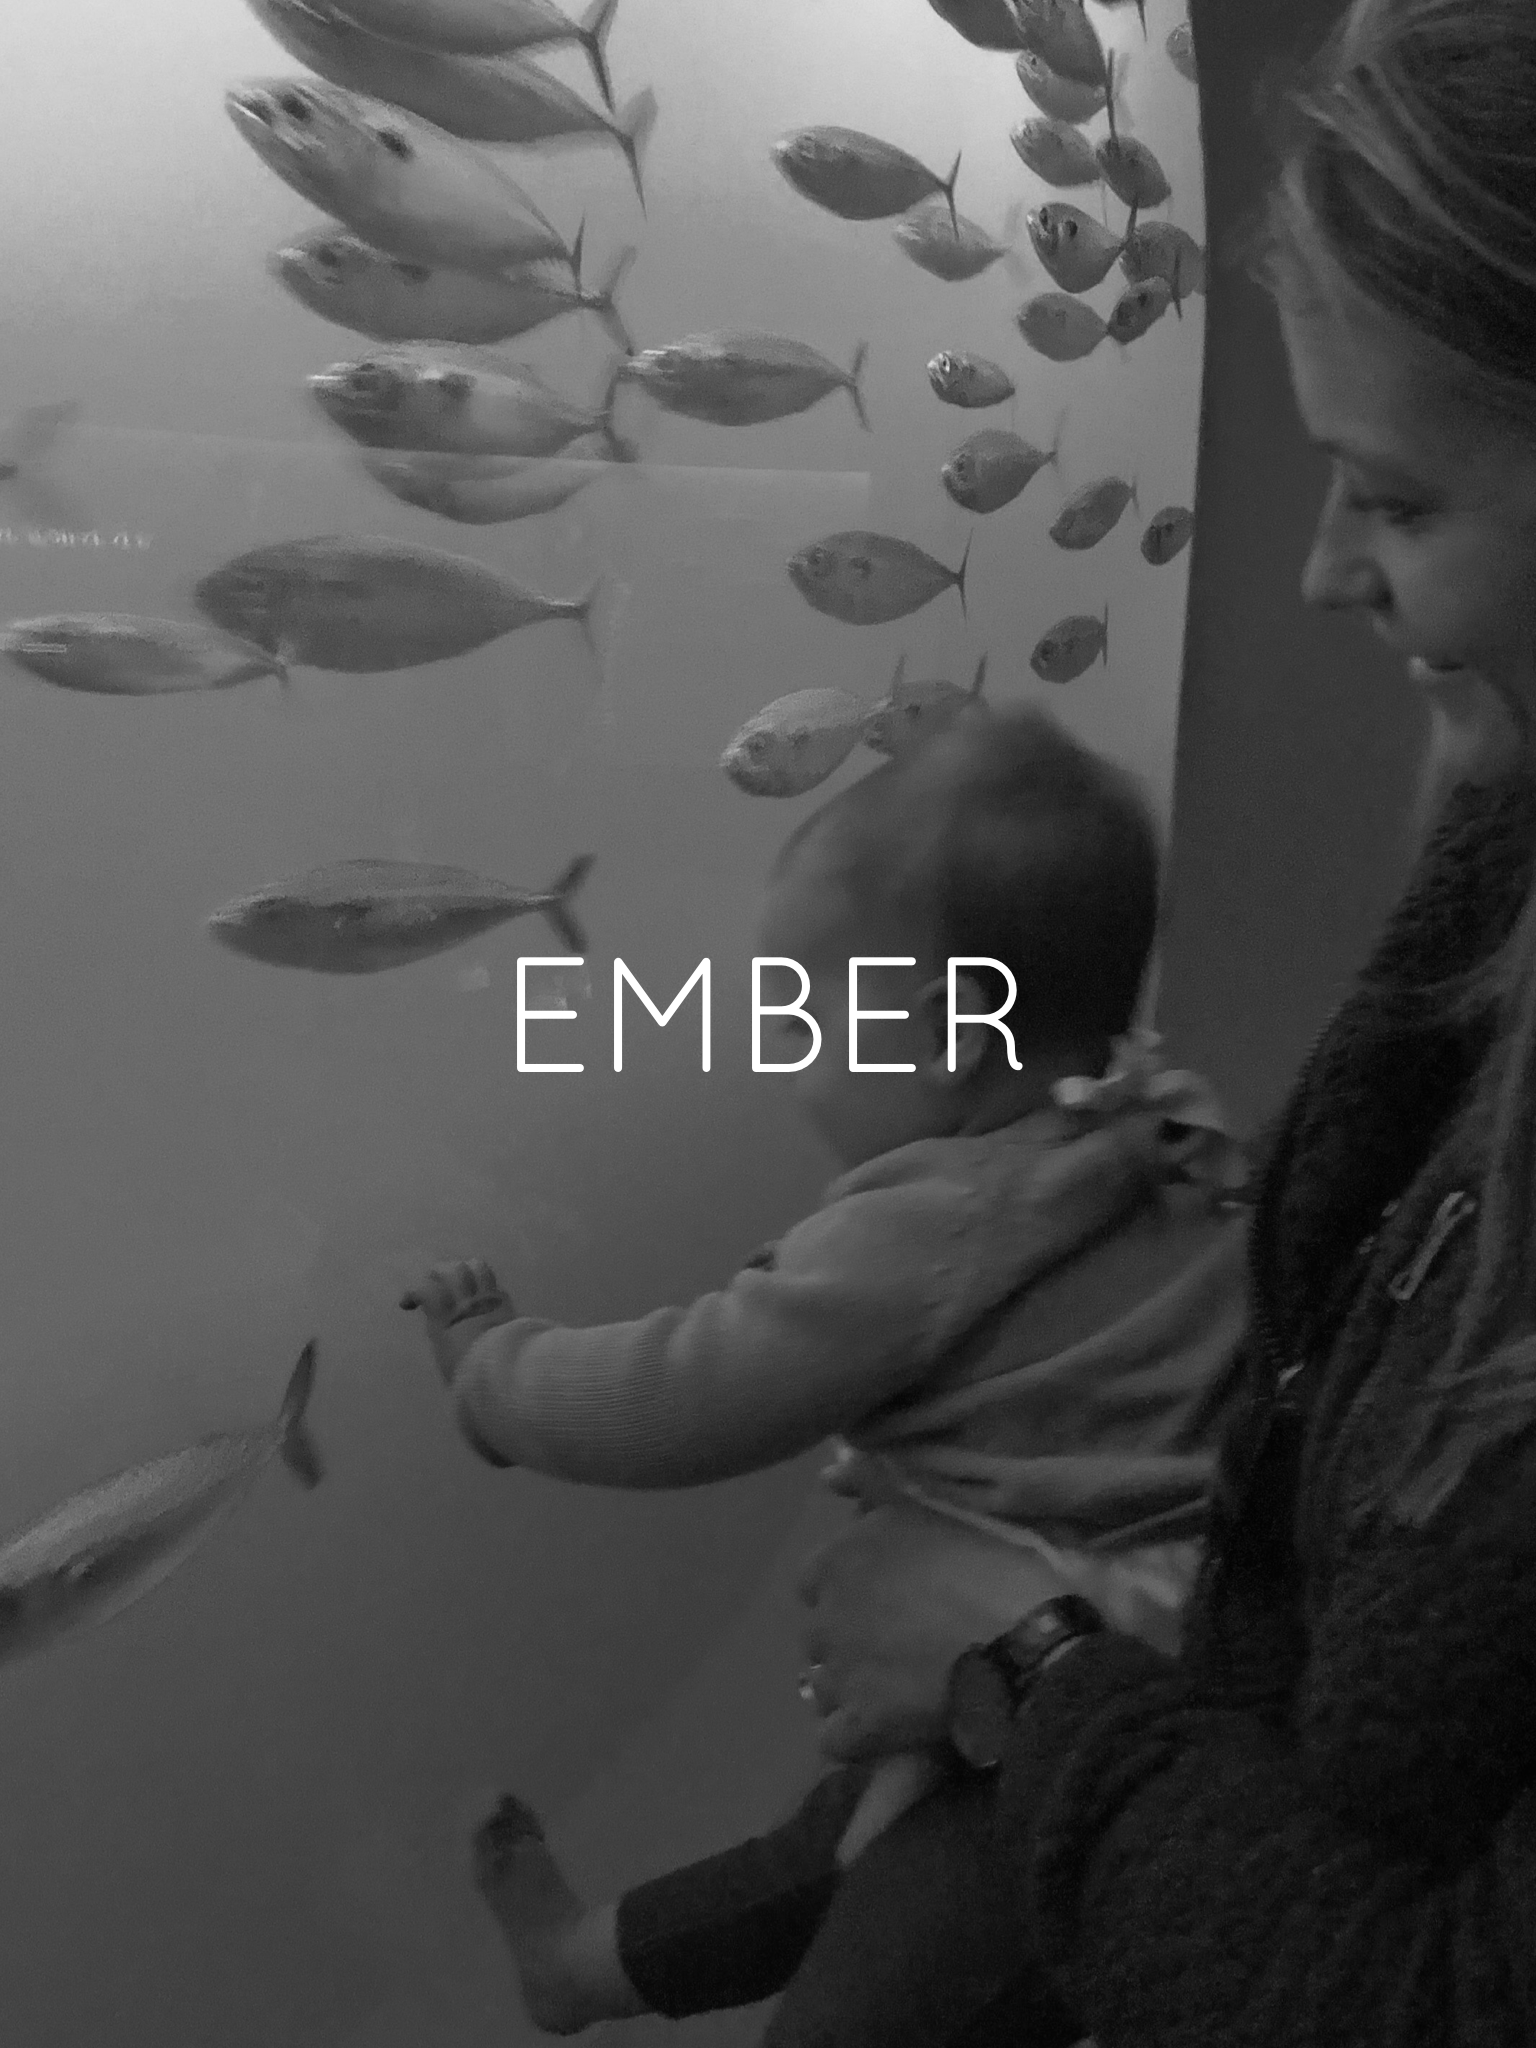
repeat the process for each preset (the presets are named in this order— Punch, Fog, Dusk, Goldie, Ember, Sand)
hit the back arrow button twice
to apply presets, go into “all photos” or create a new album and import the photos you want to edit by selecting the blue plus/picture button in the bottom right
hit the check mark when you selected which photos you want to import
select an image, and scroll the bottom tools to the far right
hit “presets” + select, user presets
click through each preset to see how they look, and when you like one, click the check mark.
some photos may need a little more adjusting than others depending on light, skin tones, shadows etc.
to adjust brightness, scroll to the left to the sun and tap on it. toggle the exposure slider until it looks just right. you can repeat this with “color” by adjusting the temp to make your image warmer or cooler
to adjust skin tones, tap the mix color wheel, and hit the orange circle… move the saturation slider accordingly and play around with luminance until skin tones look just right.
when you’re happy with your edit, click the little box/arrow in the top right corner and “save to camera roll” (maximum available for best quality).
INSTALLATION FOR OLDER PHONES/ANDROIDS
Download the free lightroom mobile app + free winzip app + google chrome if you don’t already have them (android users can most often skip this step, it just depends on the brand of your phone… some androids will auto save and unzip wherever you choose to save to on your device).
please note that for the older versions of iphone, safari will first come up as a blank white screen, and can take quite a while before it begins to download, which is why i recommend using google chrome.
open the chrome app, and sign into your email account you used to purchase your presets. open the digital download and open in winzip.
go ahead and tap on each preset file, where it will take you to a screen that gives an error message and has you select on option (you should see a little box with an arrow)... and then save each image to your camera roll. (if you don’t have the option to save to camera roll then go into your phone settings and make sure winzip has permission to access your camera roll/photos)
they will most likely look like black/grey images in your camera roll, but depending on your phone the actual image may appear.
go back to your home screen and open up your free lightroom mobile app
create an album for the presets you just downloaded by selecting the “+” and click “create album”
name it “Brooke Borough Presets”
click the three little dots to the right of the album you just named.
add photos ‘from file’, click the downloads folder and tap one of the preset images. repeat this step until all are imported
after each preset photo is in the album, select the album to open and tap on one of the photos
hit the top right button with three dots, and select “create preset”
name each according to the preset title (i recommend adding bb, or numbering them before each to keep them together. for example: bb goldie, 1. goldie)
repeat the process for each preset
hit the back arrow button twice
to apply presets, go into “all photos” or create a new album and import the photos you want to edit by selecting the blue plus/picture button in the bottom right
hit the check mark when you selected which photos you want to import
select an image, and scroll the bottom tools to the far right
hit “presets” + select, user presets
click through each preset to see how they look, and when you like one, click the check mark.
some photos may need a little more adjusting than others depending on light, skin tones, shadows etc.
to adjust brightness, scroll to the left to the sun and tap on it. toggle the exposure slider until it looks just right. you can repeat this with “color” by adjusting the temp to make your image warmer or cooler
to adjust skin tones, tap the mix color wheel, and hit the orange circle… move the saturation slider accordingly and play around with luminance until skin tones look just right.
when you’re happy with your edit, click the little box/arrow in the top right corner and “save to camera roll” (maximum available for best quality).
THAT’S IT! THANK YOU THANK YOU THANK YOU. YOUR SUPPORT MEANS WAY MORE THAN YOU EVEN KNOW. PLEASE USE HASHTAG #BBPRESETS ON INSTAGRAM or TAG ME WHEN POSTING THESE EDITS! I CAN'T WAIT TO SEE ALL YOUR BEAUTIFUL PHOTOS!